EASI PLANK HYBRIDSPC FLOORING
Floating Installation Guidelines
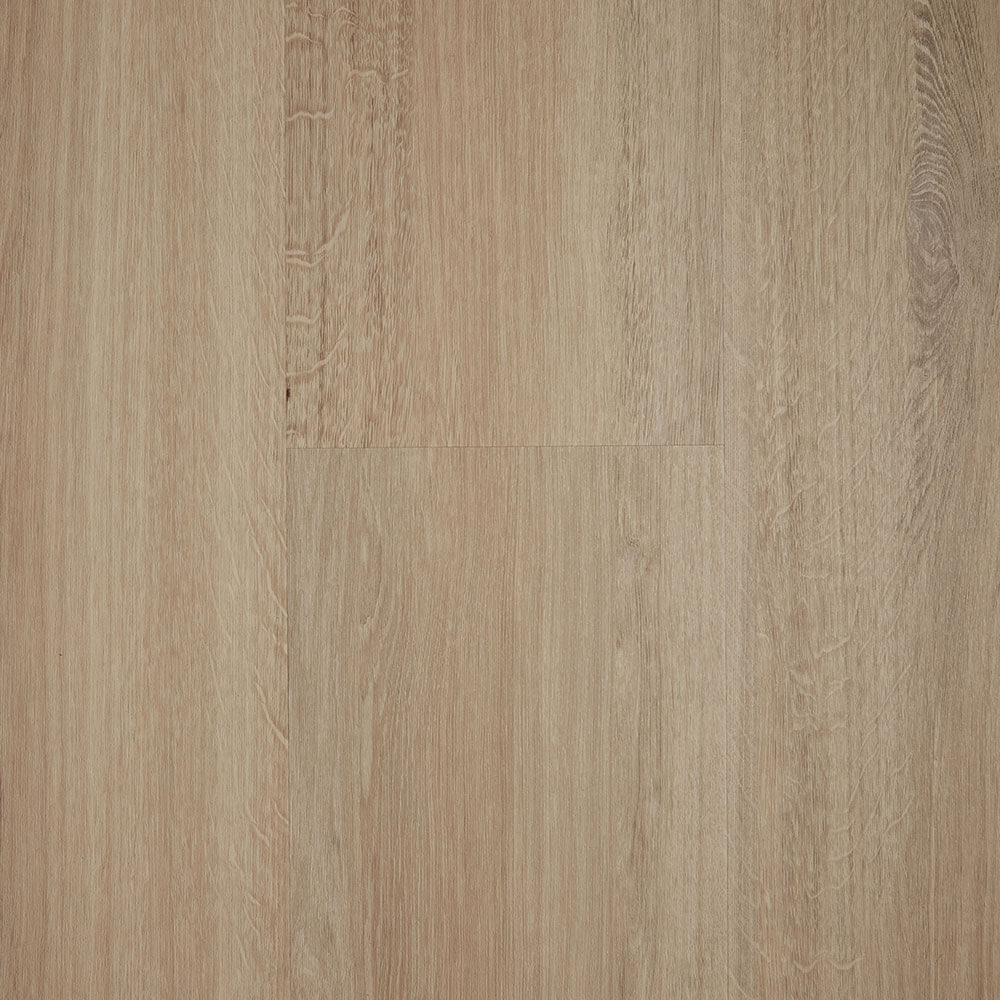
Easi PlankSPC flooring is a new generation product manufactured using the latest technology known as ‘Stone Polymer Composite’(SPC). The highly resilient and rigid composite core is resistant to high temperatures, waterproof with excellent stability characteristics. SPC is extremely durable incorporating a vinyl wear layer to handle the everyday scuffing and traffic experienced in modern interiors. Although it is 100%waterproofitis suitable for interior installations only. Importantly, careful attention to the installation and basic care and maintenance guidelines need to be followed to maximize the benefits of this unique new generation flooring product. Please read the following instructions thoroughly before installing the floor. Important note; the project should be installed by a professional flooring contractor or skilled tradesperson. The installation process and method selected are the responsibility of the contractor. You must be satisfied that the contractor is qualified to carry out your site installation. If you have any concerns regarding the install please contact your reseller for review. A thorough understanding and inspection of the specific site conditions need to be undertaken by the installer prior to commencing work. Site-specific circumstances should always be evaluated before commencing the evaluation, if applicable under floor inspections should be carried out before installation. Please note: EASI PLANK SPC Flooring is suitable for installation with Under–Floor heating provided the heating system selected is a Hydronic In–slab system and is installed and operated as per the heating system manufacturers installation and operating recommendations. performance remains at owners’ risk. Other floor heating systems will not be covered by our warranty. Steam mopping should not be used under any circumstances. Regular sweeping and a damp mop for general cleaning.
FLOATING INSTALLATION ANGLE / TAP LOCKING PROFILE
These installation guidelines apply to the EASI PLANKSPC angle/tap product. All instructions and recommendations should be followed for a satisfactory installation. •The floor covering should be stored and installed in a climate-controlled location with an average temperature between13°–29°C. •Optimum post-installation temperature range is between,0°–37°C. •Avoid exposure to direct sunlight during installation to avoid possible discoloration and to avoid excessive heat building upon the floor surface. Temporary covering of windows & doors is required during the construction/ installation phase. Once the building is occupied the use of the drapes or sunblinds is recommended to reduce harmful UV exposure and heat on the floor surface.•Regardless of new construction or renovation projects, keep flooring stored in rooms that are not being worked in and only install the product after all other trades have completed work to avoid site related damage and residues on the flooring. •To minimize shade/batch variation, mix and install planks from several cartons. •Inspect all planks for damage before installing. If you have any concerns about the product fit or finish please contact your reseller immediately. DO NOT INSTALL DEFECTIVE PLANKS. Claims will not be accepted for flooring that has been cut to size and or installed. •All subfloor patching must be dry completely prior to installing the planks. •Installation –Floatingmethod only on a sound flat substrate. Raft size for installation, 15m in length & 15m in width.Tools required: Tape Measure, Professional quality Utility Knife, Jigsaw, Straight Edge, Tapping Block, RubberMallet, Pull Bar, 6–8mm Spacers, T–Square, Safety Glasses, Hand Pressure Roller or Weighted Roller, Broom or vacuum and, if necessary, tools for subfloor repair. All subfloors must be clean, flat, dry, and structurally sound. Nails, screws, and grout lines need to be flush and sound. The correct preparation of the subfloor is a major part of a successful installation. Subfloor must be flat, max. 3mm over 3.0m.EASI PLANKSPC has an attached acoustic underlay suitable for single-dwelling residential installations. The use of an additional underlayment is not required and will impact on the performance of the installed floor and its locking system. Acoustic installs for Multi–residential or Commercial installations. If additional sound dampening required rigid acoustic matting can be used to meet the specified acoustic outcome. Rubber or cork/ rubber matting up to >3mm is suitable in these circumstances. Please check with your acoustic underlay supplier or acoustic specialist for appropriate product and installation guidelines.
CAUTION: Some types of nails, such as common steel nails may cause discoloration transferring through the easy PLANKSPC flooring. Solvent-based construction adhesives are known to stain floor coverings. All responsibility for discoloration problems caused by the use of the above-mentioned products is not the responsibility of the supplier but rests with the installer/contractor.
EASI PLANK HYBRID SPC FLOORING
INSTALLATION OVER–TIMBER / WOOD PANEL / CONCRETE FLOORS
Do not install EASI PLANKflooring directly over existing timber strip(solid) or engineered timber subfloors that are installed directly on concrete or over timber strip (solid)&engineered timber floors installed on structural bearers and joists or timber battens( Point 4). All floor surfaces shall be smooth, permanently dry, clean, and free of all foreign matter such as dust, wax, solvents, paint, grease, oils, and old adhesive residue. The surface must be rigid, dense, and free of flaking or powdery substances. Sand all edges if joins are not flush on wood-based panels.1.Subfloor wood-based types–Plywood, OSB, Particleboard(PB), and Masonite. They must be structurally sound and installed as per their manufacturer’s recommendations. Local building codes may only establish minimum requirements of the flooring system and may not provide adequate rigidity and support for proper installation and performance. If needed add additional fixings to adequately secure an existing substrate. For new substrate material fasten and secure according to panel manufacturing guidelines or meet local building regulations. Lightly sand all surface areas and importantly joints.2.Important extra requirement for Particle Board (PB) & OSB sub–floors. Cover with 200um builder’s plastic over the entire surface. Tape joins. This method is to make sure the EASI PLANKacoustic underlay does not adhere to be sub–floor and create the opportunity for telegraphing any sub–floor movement commonly associated with PB &OSB floorinstallations.3.EASI PLANKflooring is not recommended for installation directly over timber strip floors(solid& engineered), floating floors or fire-retardant-treated plywood, or preservative-treated plywood. An additional layer of structurally rated plywood or hardboard(Masonite)or OSB approx. minimum 6 or 7mm thickness should be installed over the existing floor. Do not use additional underlay for normal installations it will compromise the click system and void the warranty. Refer pg. 1 Acoustic installs Multi–Res & Commercial.4.For concrete slab installations. The slab must be dry& level, maximum moisture level 2.5 –4.5% in a 24 hr. period. The maximum level for ASTM 2170In–situ Relative humidity test method –85%. 5.Do no install over concrete with a history of high moisture or hydrostatic conditions. Ph level of concrete should be between,5–9.6. The final responsibility for determining if the concrete is dry for installation remains with the floor installer/contractor. Radiant Heat: Hydronic In–slab only –Radiant heat components must have a minimum of 12 mm separation from the product. This is the only type of radiant heat system that is approved. Radiant heat system must be on and operational for at least 2 weeks prior to installation to reduce residual moisture within the concrete. Three (3) days prior to installation lower the temperature to 19°C. After installation gradually increases the temperature in increments of 1°C to avoid overheating. The maximum operating temperature should never exceed 27°C. Use of an in–floor temperature sensor is recommended to avoid overheating.
INSTALLATION OVER EXISTING FLOOR COVERINGS
•EASI PLANKSPC flooring can be installed over most existing hard–surface floor coverings provided that the existing floor surface is clean, flat dry, and structurally sound. No loose grout, tiles, or planks.Tile Grout maximum depth <2 mm below tile surface.
•Existing sheet vinyl floors should not be heavily cushioned and not exceed more than one layer in thickness. Soft underlayment and soft substrates will compromise the product’s locking ability as well as diminish its indentation resistance.
•Installation is NOT allowed over any type of carpet. •Do NOT install over existing timber strip floors directly adhered to concrete or installed directly over timber bearers & joists.
•Never use solvents or citrus adhesive removers to clean old adhesive residue. The solvent residue left in and on the subfloor may affect the new floor covering and its acoustic base.
FLOATING INSTALLATION ONLY
EASI PLANK SPC flooring is designed to be installed utilizing the floating method. Never permanently secure the planks to the subfloor when using the floating installation method. Do not install cabinets, kitchen island benches fixed objects on top of the flooring. 6–8mmexpansion space is required for perimeters general installations. Larger installs may require additional expansion capacity, refer to note below.Undercut all doorjambs. Do not fasten wall moldings and or transition strips to the planks. Wet Areas: Bathroom& Laundry. These areas must be independently installed from any adjoining floor installation. The area must be perimeter sealed with a quality mold-resistant sealer as per building code requirements for wet areas. Expansion recommendations: Optimum raft install size is, 15 m in length and 15m in width. For sizes over this you must allow for room to room transmission trims and longitudinal transmission joins to cater for the normal creep and racking that occurs within the overall building structure. 6–8 mm perimeter expansion is recommended for general installations. Avoid excessively long hallway installs that run into large open floor plans, extra expansion capacity will be required. Always consider transmission breaks to improve the performance of your floating install.
1.Before you start the installation it is important to determine the layout of the flooring. Proper planning and layout will prevent narrow plank widths at wall junctures or very short-length pieces at the end of rows.
2.As with all plank products, install the planks parallel to the longest exterior wall.
3.Determine if the starter row will need to be cut. If the first row of planks does not need to be trimmed in width, it will be necessary to cut off the unsupported tongue so that a clean, solid edge shows towards the wall.
4.Installation must start from the left side of the room working to the right when working in front of the planks or facing the starting wall.
5.Install the second plank in the row by angling the end tongue into the end groove of the first plank. Be careful not to bend the corner of the plank. Maintain an expansion gap of 6–8mmfrom the wall. Start the second row by cutting a plank to the desired length. Keep in mind that the plank must not be shorter than 15cm to achieve the best appearance.
6.Install the first plank in the second row by inserting the long side tongue into the groove of the plank in the first row. This is best done with a low angle of the plank. Maintain pressure into the side seam as you rotate the plank to the subfloor. Install the second plank in the second row by inserting the short end tongue into the previously installed plank groove. Align the plank so that the long side tongue tip is positioned just over the groove lip of the plank in the first row. Working from the end seam, at a low angle, insert the long tongue into the groove of the adjoining plank. Very little force is required to seat the tongue into the groove. You should feel the tongue lock into the groove.
7.Work across the length of the room installing planks along the wall in the first row and then aligning the planks in the second row. It is critical to keep these two rows straight and square, as they are the “foundation” for the rest of the installation.
8.Check squareness and straightness regularly.
9.Cut the last plank in the first row and leave an expansion gap of 6–8mm. Planks may be cut with a quality utility knife using the “score and snap” technique or saw. The leftover of this plank may be used to start the third row if it’s a minimum 15cm long.
10.Continue installing planks and make sure to achieve a random appearance with end pieces of a minimum 15cm. Check that all planks are fully engaged; if a slight gapping is found, the gap can be tapped together by using a tapping block and a scrap of flooring to cover the tapping block in order to avoid damaging the planks.
11. When fitting under door skirting’s, if necessary, a flat pull bar may be used to assist in locking the planks.
12.When fitting around obstacles or into irregular spaces, planks can be cut easily and cleanly using a utility knife with a sharp blade or hole saw. It is often beneficial to make a cardboard template of the area and transfer this pattern to the plank.
13.Protect all exposed edges of the flooring by installing wall molding and or transition strips. Make sure that no plank will be secured in any way to the subfloor.
14.For wet areas such as bathrooms or laundries caulk the perimeter of the floor with a mold-resistant silicone suitable for wet areas.
15.Protect the finished flooring from exposure to direct sunlight to reduce fading and thermal expansion.
REPAIRS
1.EASI PLANK SPC flooring is tough and durable; however, if a plank becomes damaged, it can be replaced. If the damaged plank is damaged along the perimeter of the room, the easiest technique is to disconnect the planks until the damaged plank is removed. Replace the plank and reassemble the planks. If it is impractical to disconnect and reassemble the flooring, the following procedure should be followed:
2.It’s recommended to use painter’s tape along the sides of the board to be replaced to prevent damage to the adjoining boards.
3.Using a quality Utility Knife, cut through the middle of the damaged plank, running the length of the plank.
4.Carefully remove cut pieces from the insert. You can use a utility knife or chisel to remove the pieces from the floor. Clean up any debris from the opening area.
5.To prepare a replacement plank. Cut and remove the tongue from the long side and the short end of the plank. This can be accomplished by using a Utility knife.
6.Using a quality Utility Knife, remove approximately 35 mm of the groove on the long side of the plank from the tongue end.
7.Apply a small bead of Super Glue (Ethyl Cyanoacrylate)Sika Bond F–100or similar adhesive to the groove of the boards in the floor.

8.Insert replacement plank, locking the long side joint (groove side) into the existing floor. NOTE: The Tongue end of the replacement plank will overlap the existing floor prior to being fully inserted.
9.Using a scrap piece of the plank as a tapping device, tap the groove end into place. Insert the blade of a Utility knife on the opposite side to lift and adjust the end as it is being tapped into place. Place a weight on the plank until the adhesive sets, minimum 6–8 hours.
CARE AND MAINTENANCEINSTRUCTIONS:
It is important to note that Easy PLANK SPC flooring will require normal care and maintenance to keep it looking good and performing as intended. If you follow these simple cleaning and maintenance guidelines your new floor will provide many years of great service.
- Please ensure that an ideal room climate is maintained whenever possible. Ideal conditions would provide for approximately,45–60% Air Humidity and 21–25°Croom temperatures. This is a comfortable range for indoor climate and provides for optimal health and assists in the overall performance of the floor. Ensure that any air–conditioning or evaporative cooling systems are operated in accordance with the manufacturer’s instructions to avoid excessive cooling, heating, and moisture ingress remaining within the internal space.
- Daily cleaning should be done with a vacuum cleaner, static mop or a smooth floor–broom. Any sand or dirt should be removed promptly because they are abrasive and will cause scratches and damage the floor surface coating over time. Please ensure no metal screws or sharp edges are evident on the vacuum head.
- Whenever necessary, the floor surface can be cleaned with a well–rung damp–dry mop. Do not use conventional household cleaning solutions and detergents, they are abrasive and will damage the clear surface coating. Never use traditional wax or steel wool on your EASI PLANK floor. PH neutral cleaning solutions are required, please observe and follow the manufacturer’s instructions. Bona Floor Care products are a worthwhile investment. Do not use Steam Mops under any circumstance.
- As with all flooring products EASI PLANK flooring can be affected by excessive natural and artificial UV light. Your floor may change color when exposed to excessive UV conditions for long durations. The use of drapes or sunblinds is recommended. Floor coverings such as rugs and mats should not be placed immediately after laying. The floor should be allowed to stabilize for a few weeks before rugs and mats are positioned. Shifting and alternating rugs over time is also a good idea.
- Window and large door openings require UV protection with sun blinds or drapes etc. These types of window & door treatments should be in place prior to or immediately after occupancy. Temporary covers in place during the installation phase if it is a new project.
- It is vitally important that you affix felt strips or suitable protection under any furniture bases, chair–legs, and commonly movable objects. At entry points and for high traffic areas the use of floor mats to remove entry grit and dirt is recommended and will help preserve the floor surface coating. Do not drag or push heavy items across the surface of the floor.
- Roller or castor chairs should not be used directly on the floor surface as grit will build up under the wheels over time and become abrasive. Best practice suggests that protective mats must be placed on the floor to protect the surface coating and to keep your floor looking good.
- In case of any plank damage on the surface, it is possible to remove damaged planks by pulling up the surrounding area and re–fitting a new plank. Professional advice and assistance from a qualified installer or specialist retailer is recommended prior to any rectification. Note; only In–slab hydronic heating will be considered under warranty provisions. Other heating methods are not covered by our warranty. Please review carefully with the heating systems guidelines for installation and operational procedures before installing your EASI PLANK HybridSPC floor.
Disclaimer: Preference Floors has used its reasonable endeavors to ensure the accuracy and reliability of the information contained herein and, to the extent permitted by law, will not be liable for any inaccuracies, omissions, or errors in this information nor for any actions taken in reliance on this information. Products must be installed in accordance with relevant installation recommendations and industry best practices.
© Homemirus Pty Ltd trading as Preference Floors.Head Office 02 97381188.

Reviews
There are no reviews yet.